
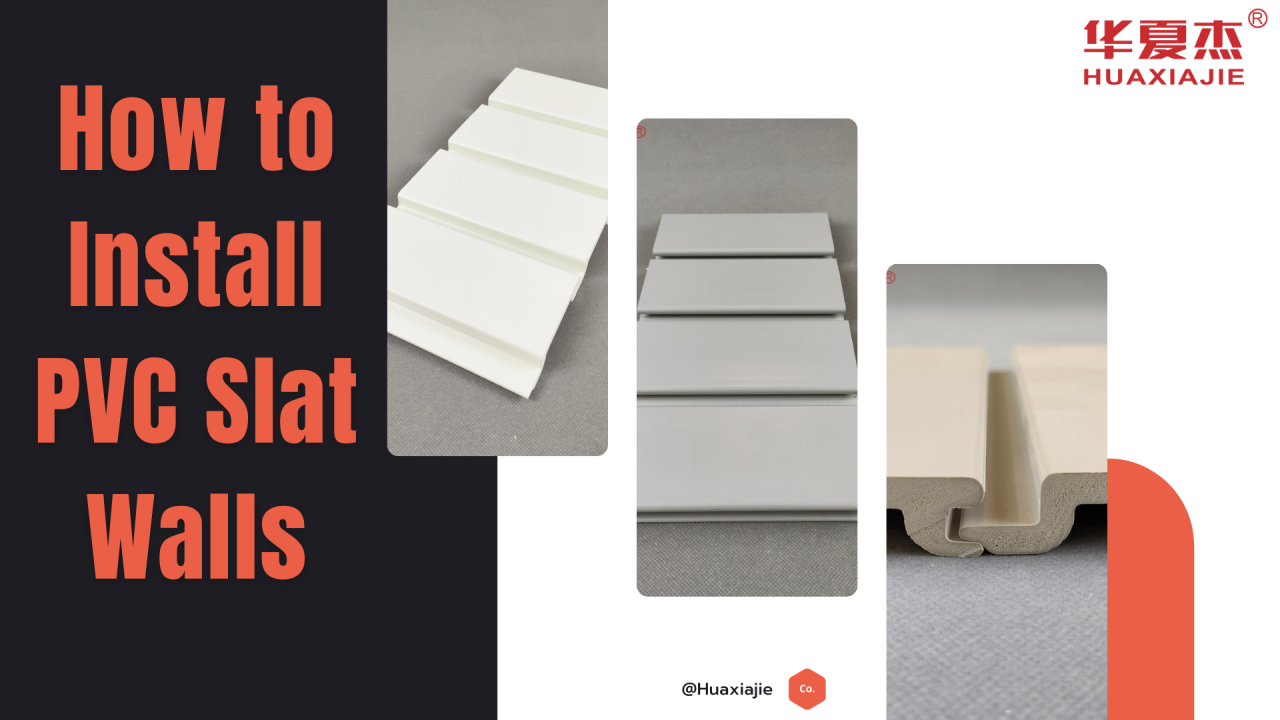
 PVC slat walls have gained popularity as a versatile and stylish solution for organizing spaces, whether it’s your garage, workshop, or even a retail store. These walls not only offer a clean and modern aesthetic but also provide excellent functionality for hanging tools, shelves, and various items. If you’re looking to transform your space with PVC slat walls, this comprehensive guide will walk you through the installation process step by step.
What You’ll Need
Before you begin the installation, make sure you have the following tools and materials:
✔ PVC slat wall panels
✔ Level
✔ Measuring tape
✔ Screws
✔ Screwdriver or drill
✔ Anchors (if not attaching to studs)
✔ Saw (for cutting panels if necessary)
✔ Pencil
✔ Stud finder
✔ Brackets and accessories (hooks, baskets, etc.)
Step 1: Plan Your Layout
The first step in installing PVC slat walls is to plan your layout. Decide where you want to install the slat walls and measure the dimensions of the area. Consider the height at which you want to mount the panels and ensure they are level. Use a pencil to mark the desired placement.
Step 2: Locate Studs
To ensure the slat wall panels are securely attached, use a stud finder to locate the wall studs. Mounting the panels on studs provides the best support. Mark the stud locations with a pencil.
Step 3: Install the Top Rail
Begin by installing the top rail of the slat wall. This rail serves as the foundation for the entire system. Use a level to make sure it’s perfectly horizontal, then attach it to the wall, drilling screws into the studs or using appropriate anchors if needed.
Step 4: Attach Slat Wall Panels
With the top rail in place, it’s time to attach the PVC slat wall panels. Start at one end and work your way across the wall, securing each panel to the top rail and studs. Ensure that the panels are level and properly aligned. Trim panels as necessary to fit the space.
Step 5: Add Accessories
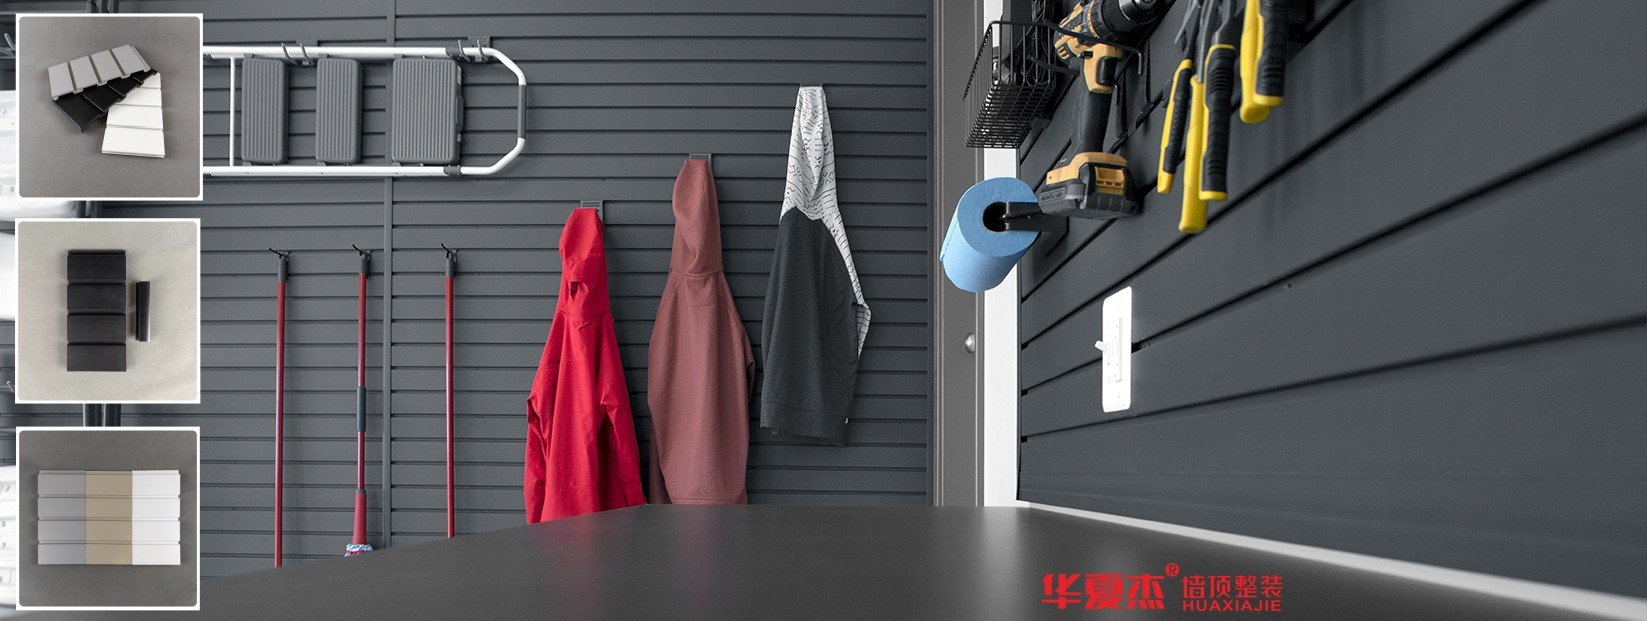
One of the advantages of PVC slat walls is the ability to customize your storage solutions. Attach brackets, hooks, and baskets to the slat panels to hold various items such as tools, gardening equipment, or sports gear. Make sure to distribute the accessories evenly to maintain balance and aesthetics.
Step 6: Test for Stability
After installing the panels and accessories, give your new PVC slat wall a test run. Hang some items on it to ensure that everything is stable and securely attached. Make any necessary adjustments.
Step 7: Enjoy Your Organized Space
Once you’re satisfied with the installation and functionality of your PVC slat walls, take a step back and admire your organized space. You’ve successfully transformed your area into a functional and stylish oasis of order.
Installing PVC slat walls is a rewarding DIY project that can enhance the organization and aesthetics of any space. By following this step-by-step guide, you can achieve a professional-looking result that will make your space more efficient and visually appealing.
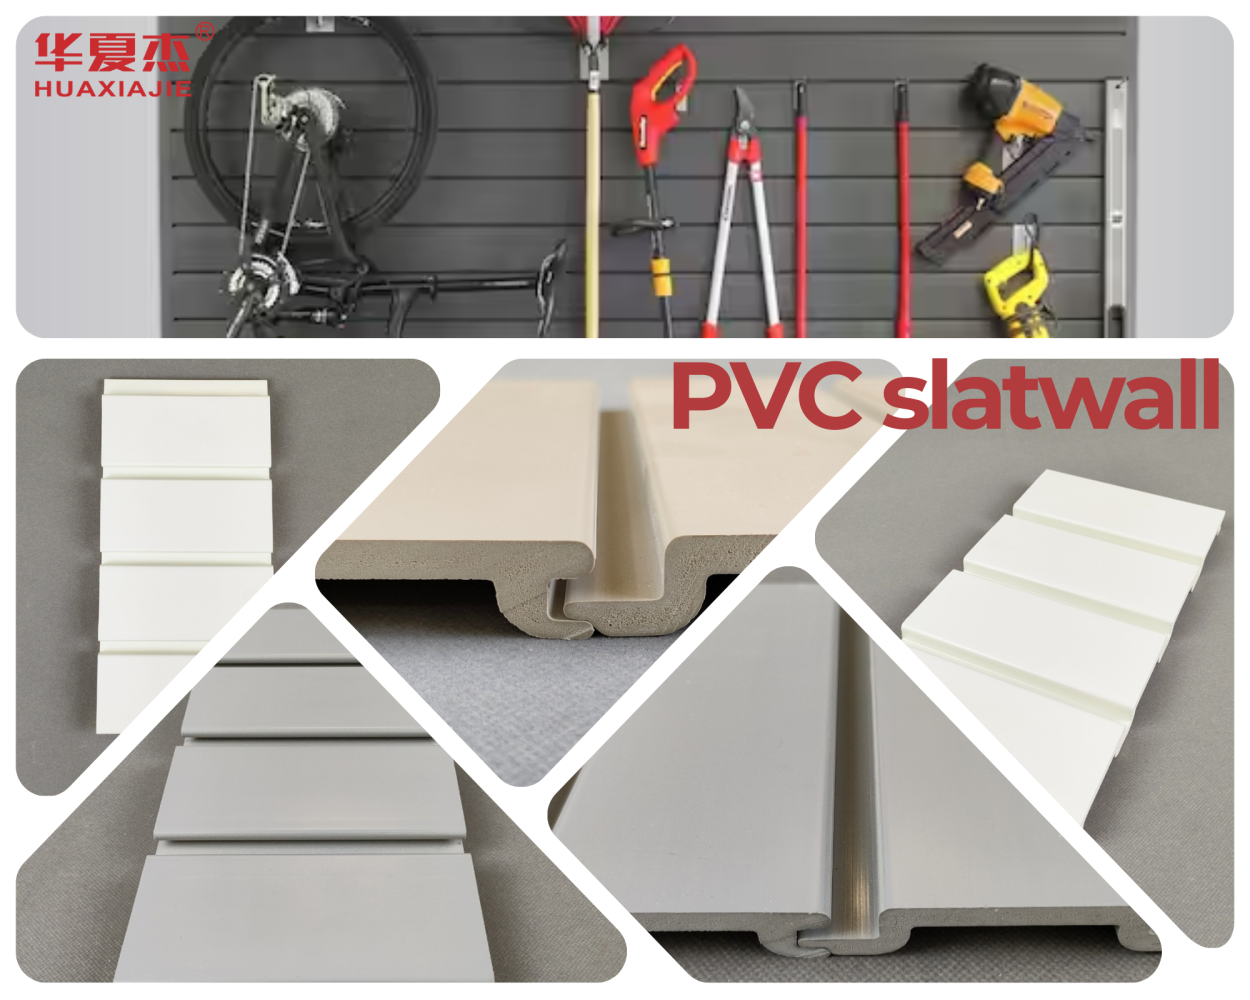
Huaxiajie‘s PVC slatwall can be configured in a variety of ways, and with our extensive range of available accessories, you can create the storage and organization you need in your garage, retail space, home office, workshop, or any space. Wholesale inquiries are welcome. Send us a message to learn more.
�� WhatsApp: +86 18757293569
�� Email: hxj1@huaxiajie.com
FAQs
Are PVC slat walls durable?
PVC slat walls are known for their durability and resistance to moisture, making them suitable for various environments, including garages and basements.
Can I paint PVC slat walls?
Yes, you can paint PVC slat walls to match your preferred color scheme. Ensure you use paint specifically designed for PVC surfaces.
Can I remove and reposition accessories on PVC slat walls?
Yes, accessories on PVC slat walls can be easily removed and repositioned as needed, allowing for flexible organization.
Post time: Aug-23-2024